Azure DevOpsからWebAppsにデプロイするのはとても簡単なんだけど、Azure外のサーバにデプロイさせようとすると非常に面倒くさい。ちょいちょいハマりポイントがあり、Azure内でシステムを構築させようとしてわざと面倒臭くしているんじゃないかと思うほど。
今回は、FTPではなく、デプロイ先のサーバにSSH接続し、接続先からgitコマンドのpullをすることによりデプロイする方法を書く。
コマンド自動返答のexpectが使えず、インストールも出来ないので、リモートリポジトリの指定時に、ユーザ名とパスワードを流している方法なので真似る場合は自己責任で!!
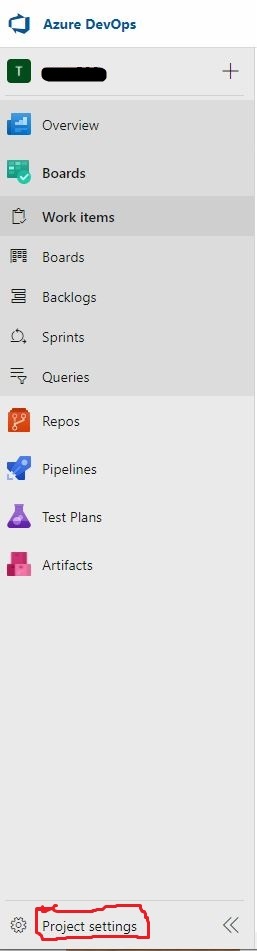
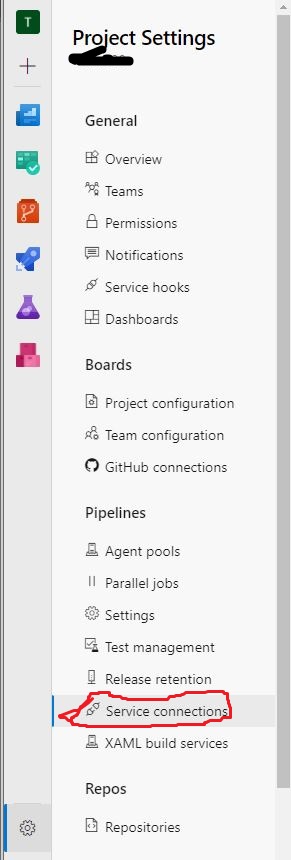
Service connectionsの作成(SSH接続の設定を行う)
「Project settings」をクリック
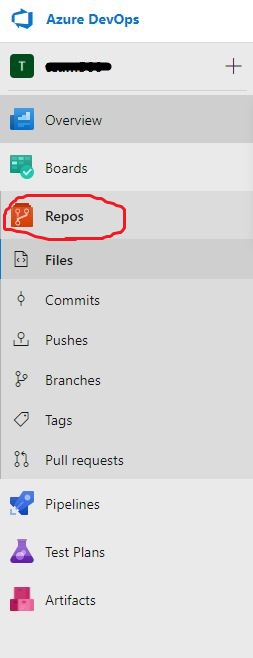
「Service connections」をクリック
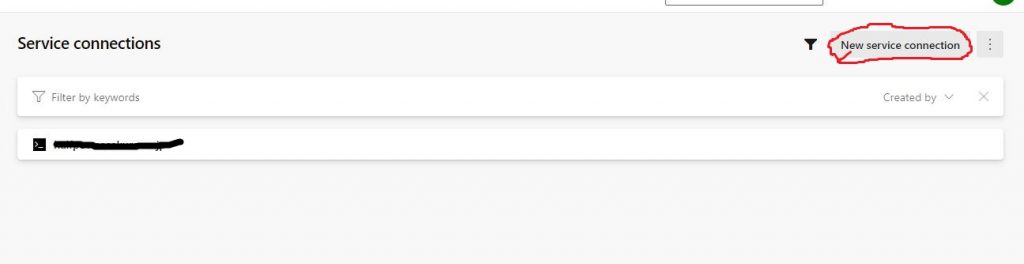
「New service connection」をクリック
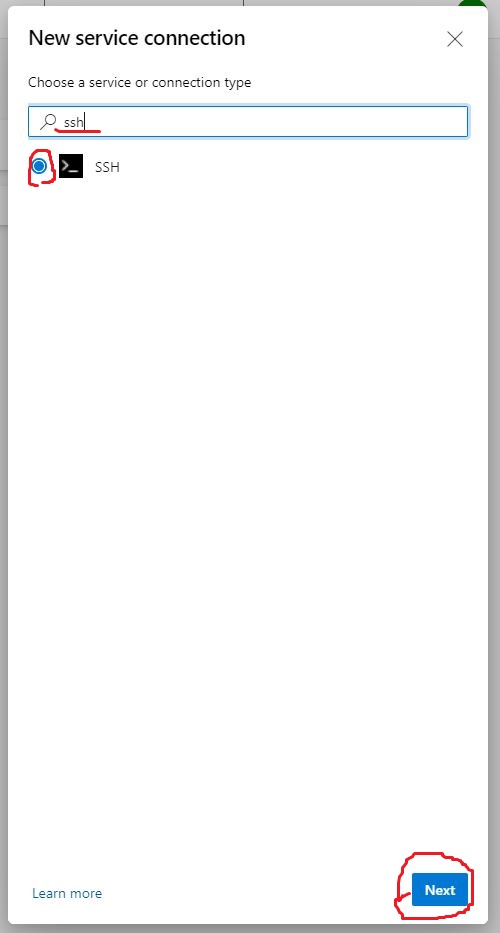
検索窓に「ssh」と入力すると、sshサービスが表示されるので、選択して「Next」をクリック
サービス設定画面が表示されるので入力する。
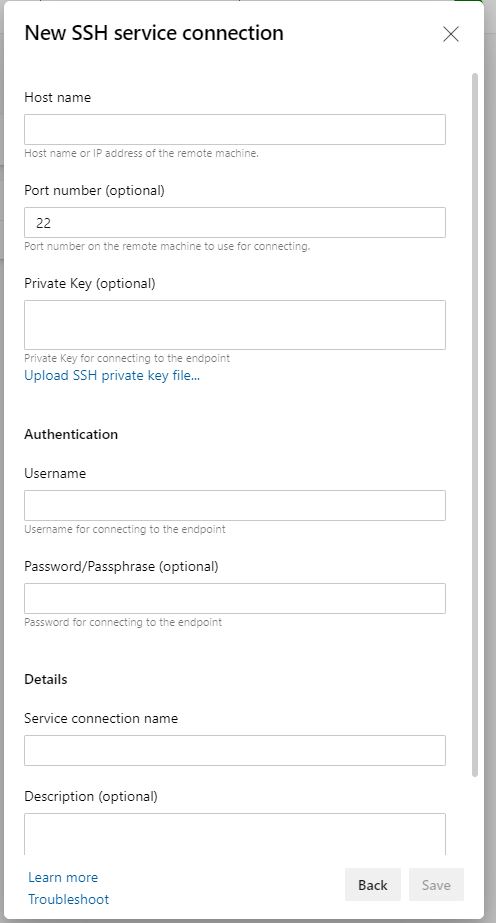
Host nameはデプロイ先サーバ名
例)xxxxxx.sakura.ne.jp
Port numberは、特に変更なければ22のまま
Private key。otptionalってなっているけど、多分秘密鍵を指定しないと接続に失敗する!!
「Upload SSH private key file…」をクリックして秘密鍵を指定する。
Usernameは、ssh接続時のユーザ名
Password/Passphraseは、鍵認証なのでパスフレーズを入力
Service connection nameとDescriptionは、後で自分が見て分かるように入力
入力し終わったら、「Save」をクリック
これでSSH接続設定は終了。
デプロイ先にリポジトリ作成
デプロイ先サーバにssh接続
デプロイ先フォルダを作成
デプロイ先フォルダに移動
リポジトリ初期化
git initリモートリポジトリの指定
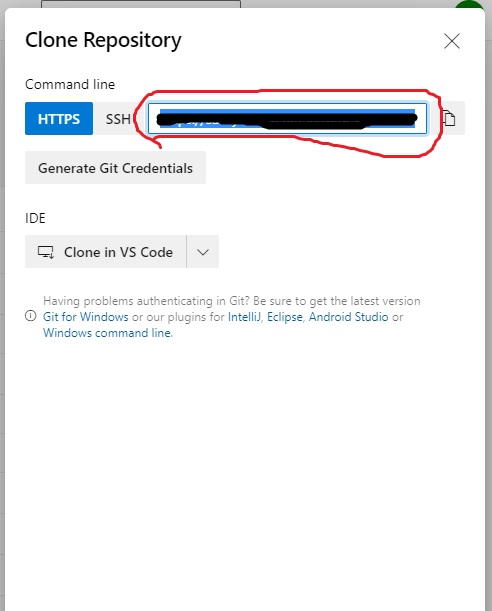
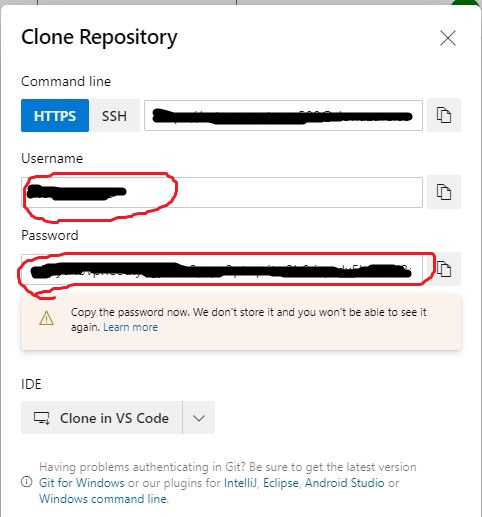
git remote add origin https://ユーザ名:パスワード@リモートリポジトリの場所リモートリポジトリの場所は
Azure DevOps -> Repos -> 「Clone」クリック時に表示されるHTTPS欄の@以降の文字列

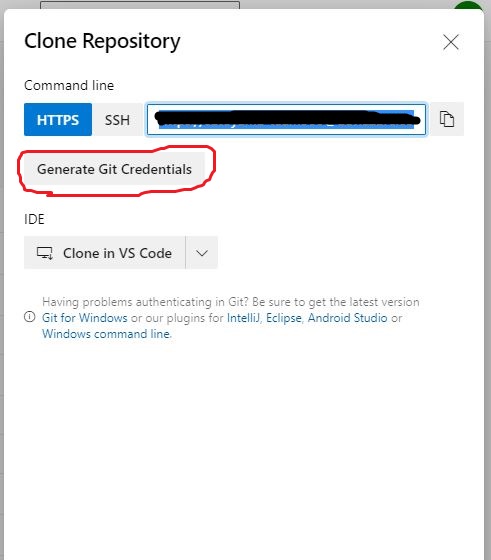
ユーザ名とパスワードは、「Generate Git Credentials」をクリックして表示された、「Username」と「Password」
継続的デプロイの設定を行う
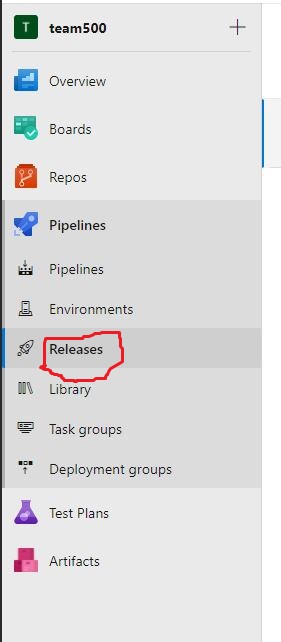
Azure DevOps -> Pipelines -> Releasesをクリック
「Create release」をクリック

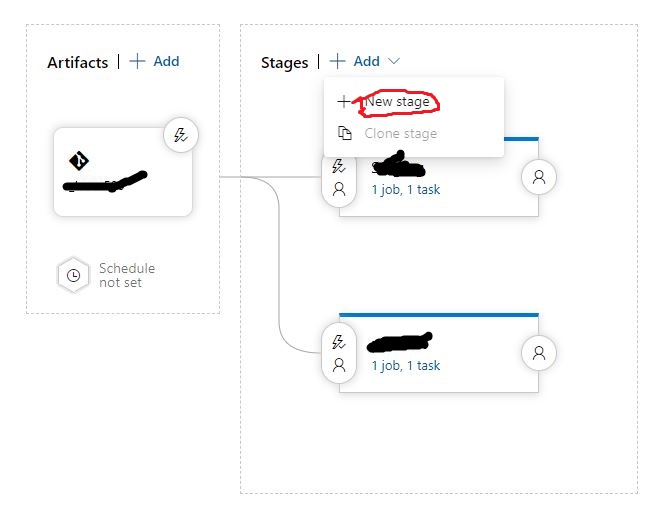
Stagesの「Add」-> 「New stage」をクリック
※Artifactsの説明は割愛。
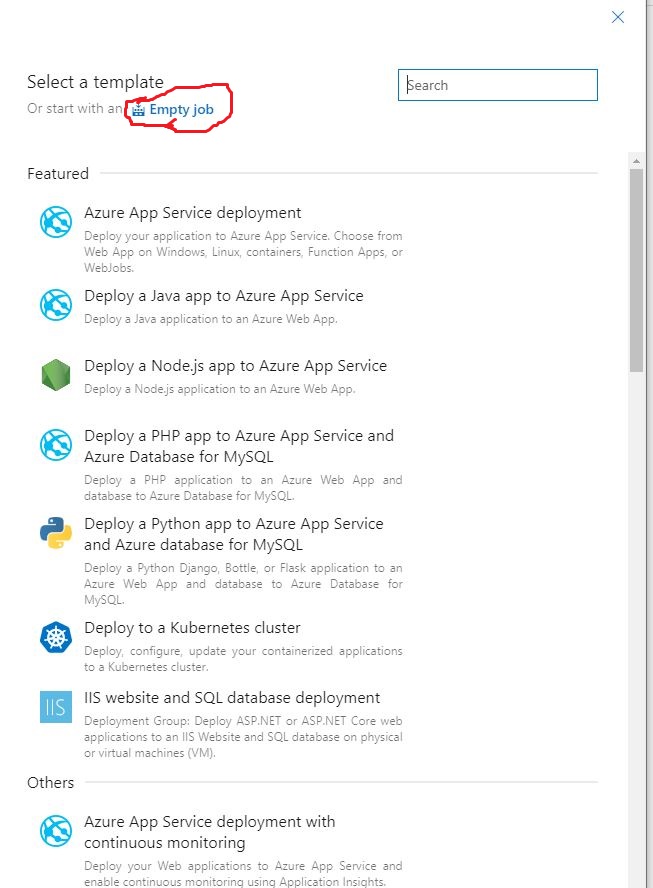
「Empty job」をクリック
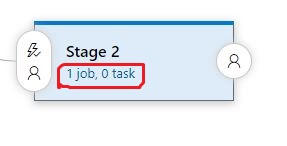
「1 job, 0 task」をクリック
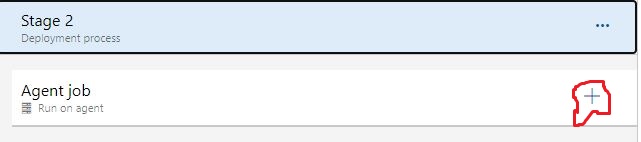
Agent jobの「+」をクリック
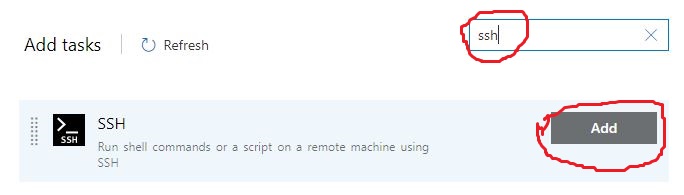
検索窓に「ssh」と入力して、一覧のSSHタスクの「Add」をクリック
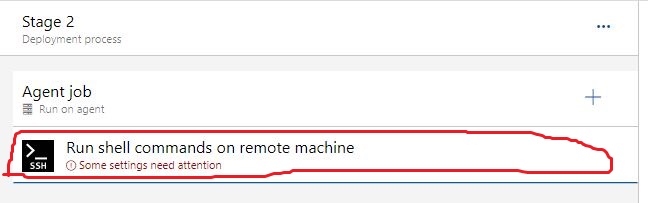
追加された「Run shell commands on remote machine」をクリック
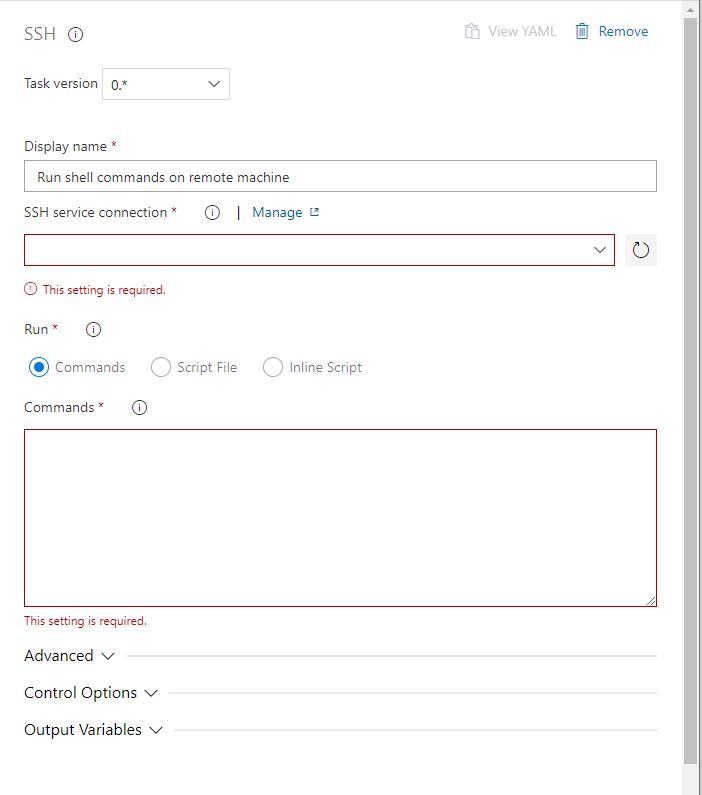
「SSH service connection」は、先ほど作成したservice connectionを選択。
「Run」は、「Inline Script」を選択。
「Inline Script」テキストエリアに以下を記述。
※実際は、キャッシュのクリアなども記述しておいた方が良い。
#!/usr/local/bin/bash
cd /home/xxxxxx/www/xxxxx
git pull origin master
「Advanced」アコーディオンの「Fail on STDERR」のチェックをはずす

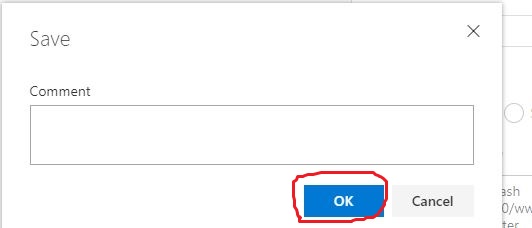
「Save」をクリック

「OK」をクリックして完了!!
これでリポジトリのソースがデプロイされる。